
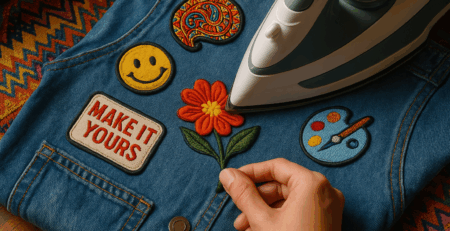
Want to add personality to your clothes without a sewing machine? Hand-sewing patches is a fun, relaxing, and beginner-friendly way to customize your gear. Whether it’s a vintage denim jacket, a canvas tote, or your favorite pair of jeans—sew-on embroidered patches are a timeless way to showcase your style.
In this step-by-step guide, we’ll teach you how to sew on patches by hand like a pro—no machine, no fuss, just thread, needle, and a little creativity.

🧵 What You’ll Need
-
Your patch (from Patchcrafts.com, of course!)
-
A needle (medium to heavy-duty size)
-
Thread (choose a matching or contrasting color)
-
Pins or fabric glue (to hold the patch in place)
-
Scissors
-
Thimble (optional, but helpful)
✂️ Step 1: Position the Patch
Start by placing your patch exactly where you want it. Check for straight alignment and spacing. Once you’re happy, secure it with pins or a dab of fabric glue to keep it from shifting while you sew.
🧠 Pro Tip: Try your item on with the pinned patch to make sure the placement feels right in action—especially on sleeves or pant legs.
🪡 Step 2: Thread Your Needle
Cut about 18 inches of thread—long enough to work with, but not so long it tangles. Double-thread it (tie the ends together) for extra strength, especially on jackets or backpacks.
Pick your thread color based on your style:
-
Match the border for a clean, invisible look
-
Contrast it for a bold, decorative touch
🧷 Step 3: Start Stitching
There are two common methods for hand-sewing patches: running stitch and whipstitch. Here’s how to do both:
🔁 Option A: Running Stitch (Subtle Look)
-
Start on the inside of the garment and poke the needle up through the edge of the patch.
-
Make small, even stitches around the patch’s edge, keeping close to the border.
-
Go all the way around, and tie off inside the fabric when finished.
🌀 Option B: Whipstitch (Bold & Decorative)
-
Come up from the inside and poke through the edge of the patch.
-
Instead of going in-and-out, loop the thread around the edge of the patch in a spiral motion.
-
This creates a raised stitch along the border—great for thicker patches or decorative flair.
🧤 Pro Tip: Use a thimble if you’re sewing through tough fabric like denim.
✅ Step 4: Knot It & Trim
Once you’ve sewn around the full edge, pull the needle through to the inside. Tie a small double knot close to the fabric, then snip the thread. That’s it—you’ve officially sewn on a patch by hand!
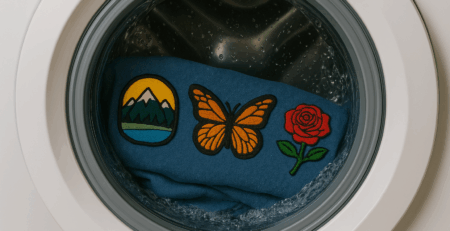
🧼 Bonus: How to Make Your Patch Last
Want your handiwork to survive washes, weather, and wear?
-
Always wash your item inside out
-
Cold water only—hot water may weaken threads
-
Avoid high heat dryers
-
Reinforce corners if they feel loose over time
🙋 FAQ: Hand-Sewing Edition
Q: Can I sew over an iron-on patch?
Yes! Sewing adds extra security and is often recommended for items that get heavy use (like backpacks or jackets).
Q: Is it hard to sew thick patches by hand?
Not at all—just use a sharper needle and go slow. Use pliers if the needle gets stuck (carefully!).
Q: What’s the best fabric for sewing on patches?
Sturdy fabrics like denim, canvas, or cotton twill are ideal. Stretchy fabrics may bunch—go slow and keep your stitches loose.
🎨 Why Sew When You Can Stick and Stitch?
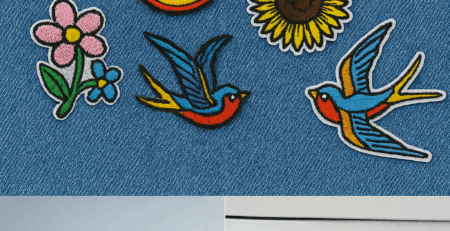
At Patchcrafts.com, our sew-on and iron-on embroidered patches are made with thick, durable threads and vibrant detail. Whether you’re a DIY beginner or a patch veteran, sewing adds a handmade touch that turns your items into one-of-a-kind pieces.
✨ Final Thoughts
Sewing on patches by hand is more than a skill—it’s a creative ritual. It’s slow fashion, personal expression, and a little old-school cool rolled into one.
So next time you want to breathe new life into your wardrobe, grab a needle, thread your vibe, and let your patchwork tell your story.
🔗 Ready to get started?
Explore our full collection of sew-on embroidered patches here and pick the one that speaks to you!
How to Apply Iron-On Embroidered Patches Like a Pro
How to Wash and Care for Embroidered Patches (Without Ruining Them)
Show Your Team Spirit: 7 Cool Ways to Use Sports Logo Patches

Fly Your Colors: 6 Meaningful Ways to Use Flag Patches
Patch Perfect: How to Wash and Care for Embroidered Patches

Creative Patch Projects for Beginners: 7 Easy DIY Ideas to Try
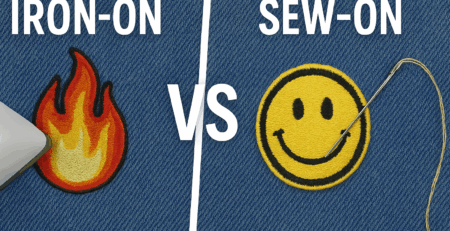
Iron-On vs. Sew-On Patches: Which One Should You Choose?
Top 10 Trending Patch Styles This Year
How to Start a Patch Collection: A Beginner’s Guide
